Healthy Living
🌱Insulation example project
for interior walls
for interior walls
The project:
Inner Walls Insulation
Next we will reveal the steps of a project showing the renovation of an old house, this time insulating the inside walls.
The elected solution consists of insulating the wall using STEICOInternal solid plates, made from natural wood fibers, that ensures a healthy inside climate without mould and high comfort degree based on its high heat capacity. It can be installed without a vapour control layer.
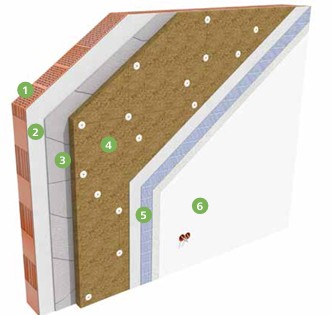
The sumary of the structure:
- Existing solid brick wall
- Internal plaster
- Bonding coat
- STEICOinternal on the wall and STEICOtri at the edges
- Base coat with reinforcement mesh
- Finishing coat
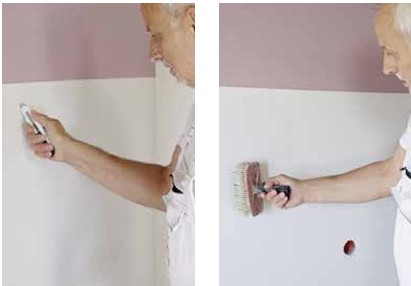
Step 1: Wall checking and preparation
To ensure a good adherence, any existing finishes which are diffusion closed or that hinder capillary movement, such as wallpapers, paint, gypsum plasters etc., should be removed.
To check the existing wall for load-bearing capacity, the surface can be cross cut with a knife. For flatness check, a long aluminium straight edge can be used.
The surface of the external wall should be firm, dry and free of grease and dust on the inside.
If priming is required, materials that are diffusion open or capillary active should be used, such as STEICO multi primer.
Materials used: Knife, STEICO multi primer
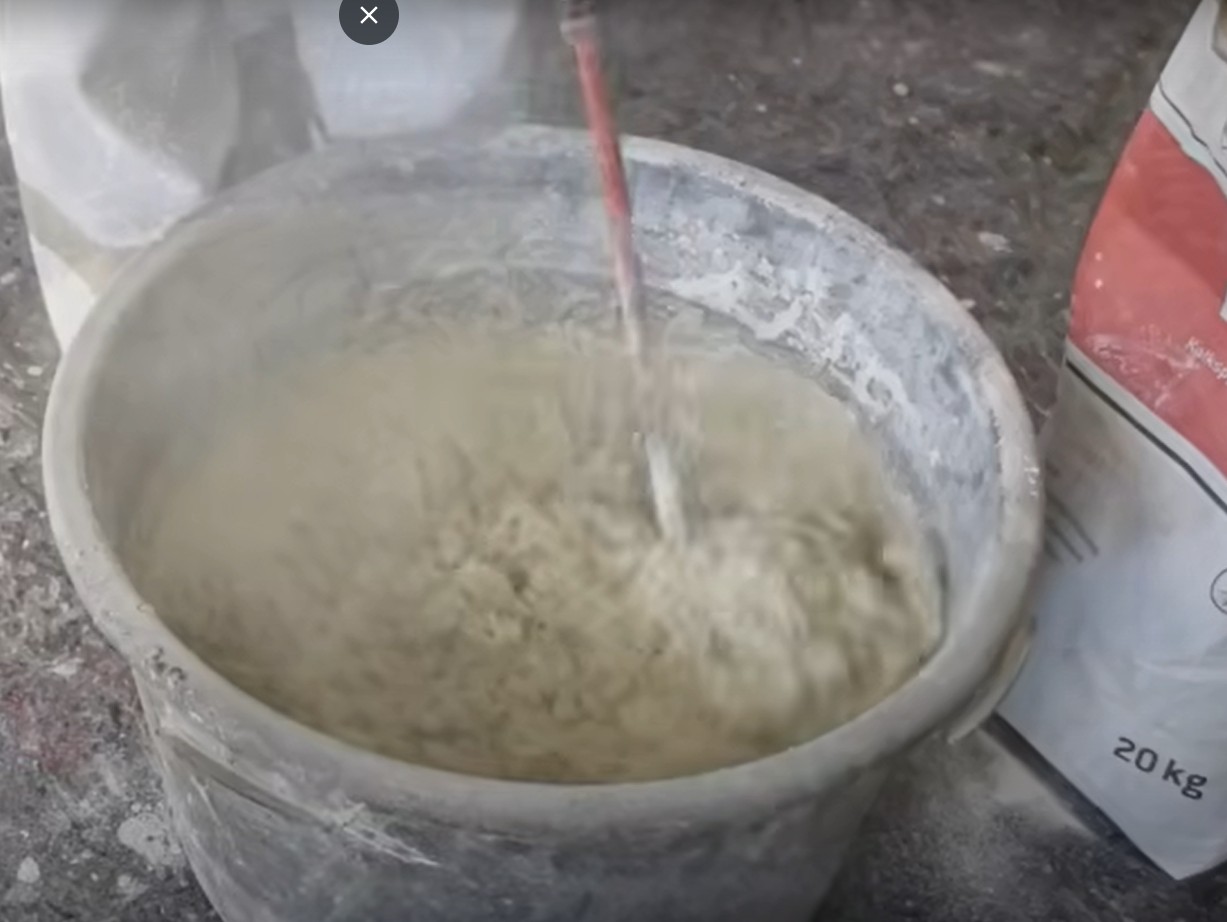
Step 2: Levelling the substrate
If the substrate is bumpy it should be levelled out. We recommend the lime and clay plasters. Products with a high gypsum content should be avoided.
Where there are exposed timbers without existing plaster, a new layer of plaster utilising the lime plaster or clay plasters should be used.
The brands recommended are Knauf, Akurit, Hessler, Rygol Keim, Baumit, Lime Green, ClayTec, ConLuto, WEM, Tierrfino etc.
In these circumstances suitable base layers such as reed mats should be mounted on the exposed timbers.
Newly applied plaster layers should be allowed to dry completely (drying time: approx. 1 day per mm of plaster thickness) for more detailed information please follow the guidance from the respective plaster manufacturer.
Materials used: Plaster, Lime plaster, or Clay plaster
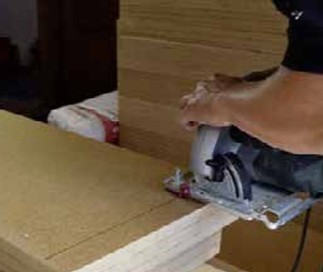
Step 3: Board processing
In this step, the insulation boards will be prepared. The material used is STEICOinternal.
For length and width cutting we recommend circular saws with a coarse tooth blade. Detailed work can be carried out with a jigsaw (e.g. Bosch T1013 AWP or T 313 AW).
Further information is contained in the brochure ”Cutting options for STEICO insulating materials” available in the download area at https://www.steico.com/en/
Materials used: STEICOinternal
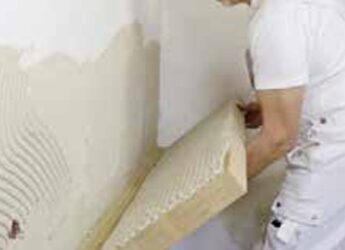
Step 4: Bonding the boards
The contact area between the masonry and the STEICOinternal must be at least 80 %. This is easy to achieve if the notched trowel coverage is aligned on the wall and on the back of the board in the same way (parallel floating method).
Application of the base coat with a 10mm toothed trowel, first on the existing wall, then on either side of the STEICOinternal.
Position the insulation board and gently manoeuvre into its final position. The correct vertical joint offset detailed in Step 6 should be observed. Also allow for appropriate spacing in the reveal area. Allow to dry for approx. 24 hours in a normal indoor climate
Materials used: STEICOinternal
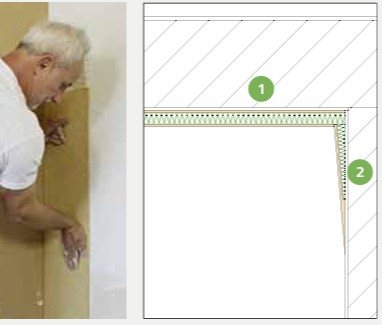
Step 5: Steicotri at the edges
To stop the thermal leakages at the edge of the wall, insulation edges will be added. When joining the wedge, the wide side of the insulating wedge 2 is butted against the insulated surface of the external wall 1. The internal wall can then be levelled out with the finishing coats. Plaster residues between the STEICOinternal and the insulation wedge STEICOtri should be removed.
Materials used: STEICOtri

Step 6: Mechanical fastners
When pre-drilling the wood fibre board insulation and the existing masonry at the same time we recommend the following drill bits with a diameter of 8 mm:
- ALPEN HM Universal drill-bit Profi Multicut
- Bosch CYL MultiConstruction
- Hilti TE CX 4
Position the insulation fasteners ejotherm HFS as shown in the diagram above. The top edge of the fastener should be flush with the surface of the insulation board.
Where existing timber framework is present, the HFS fastener can be used for anchoring into the timber construction.
TIP: When screwing in the fasteners, the EJOT S1 Tool is recommended, as it ensures an easy method for achieving a flush finish.
Materials used: ejotherm HFS, EJOT S1, drill bit 8 mm

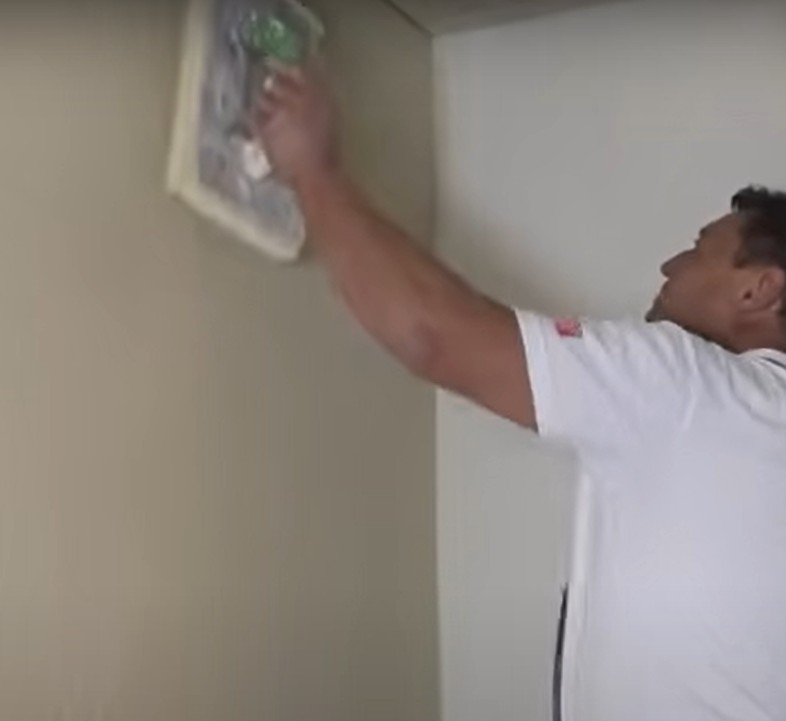
Step 7: Final coating
When applying the top coat the relevant plaster manufacturers guidance should be followed.
The drying times of the plaster layers should be observed but the general rule of ‘1 day per mm of plaster thickness’ generally applies.
This and any other important additional information can be found in the installation instructions of the respective manufacturer.
Materials used: Lime base coat, mesh and lime finish coat
End Result
Saving on energy costs and creating a healthy internal climate are important arguments for internal insulation.
STEICOinternal can be directly fixed and plastered and there are a multitude of available finishes and colours available.
In order to ensure that the positive aspects of wood fibre are utilised to their best potential, STEICO has worked in conjunction with Lime Green Products to produce a detailed system fixing approach.
The main advantages achieved are:
- Protection from mould: insulating with STEICOinternal greatly increases the internal wall surface temperature.
- Improve the Feel-Good Factor: rooms will feel significantly warmer if the wall surface temperature is higher. If the room feels warmer, then it is often possible to decrease the actual room temperature and save energy cost.
Further Information
For more information regarding materials, tools, methods, and tips, as well as regarding technical specifications, compliance, and certification, please visit www.steico.com for insulation materials, www.ids23.de for insulation accessories, and www.coolmachines.de for blown in technology and accessories.
Should you require further assistance, please do not hesitate to get in touch with us and we will be happy to assist you.