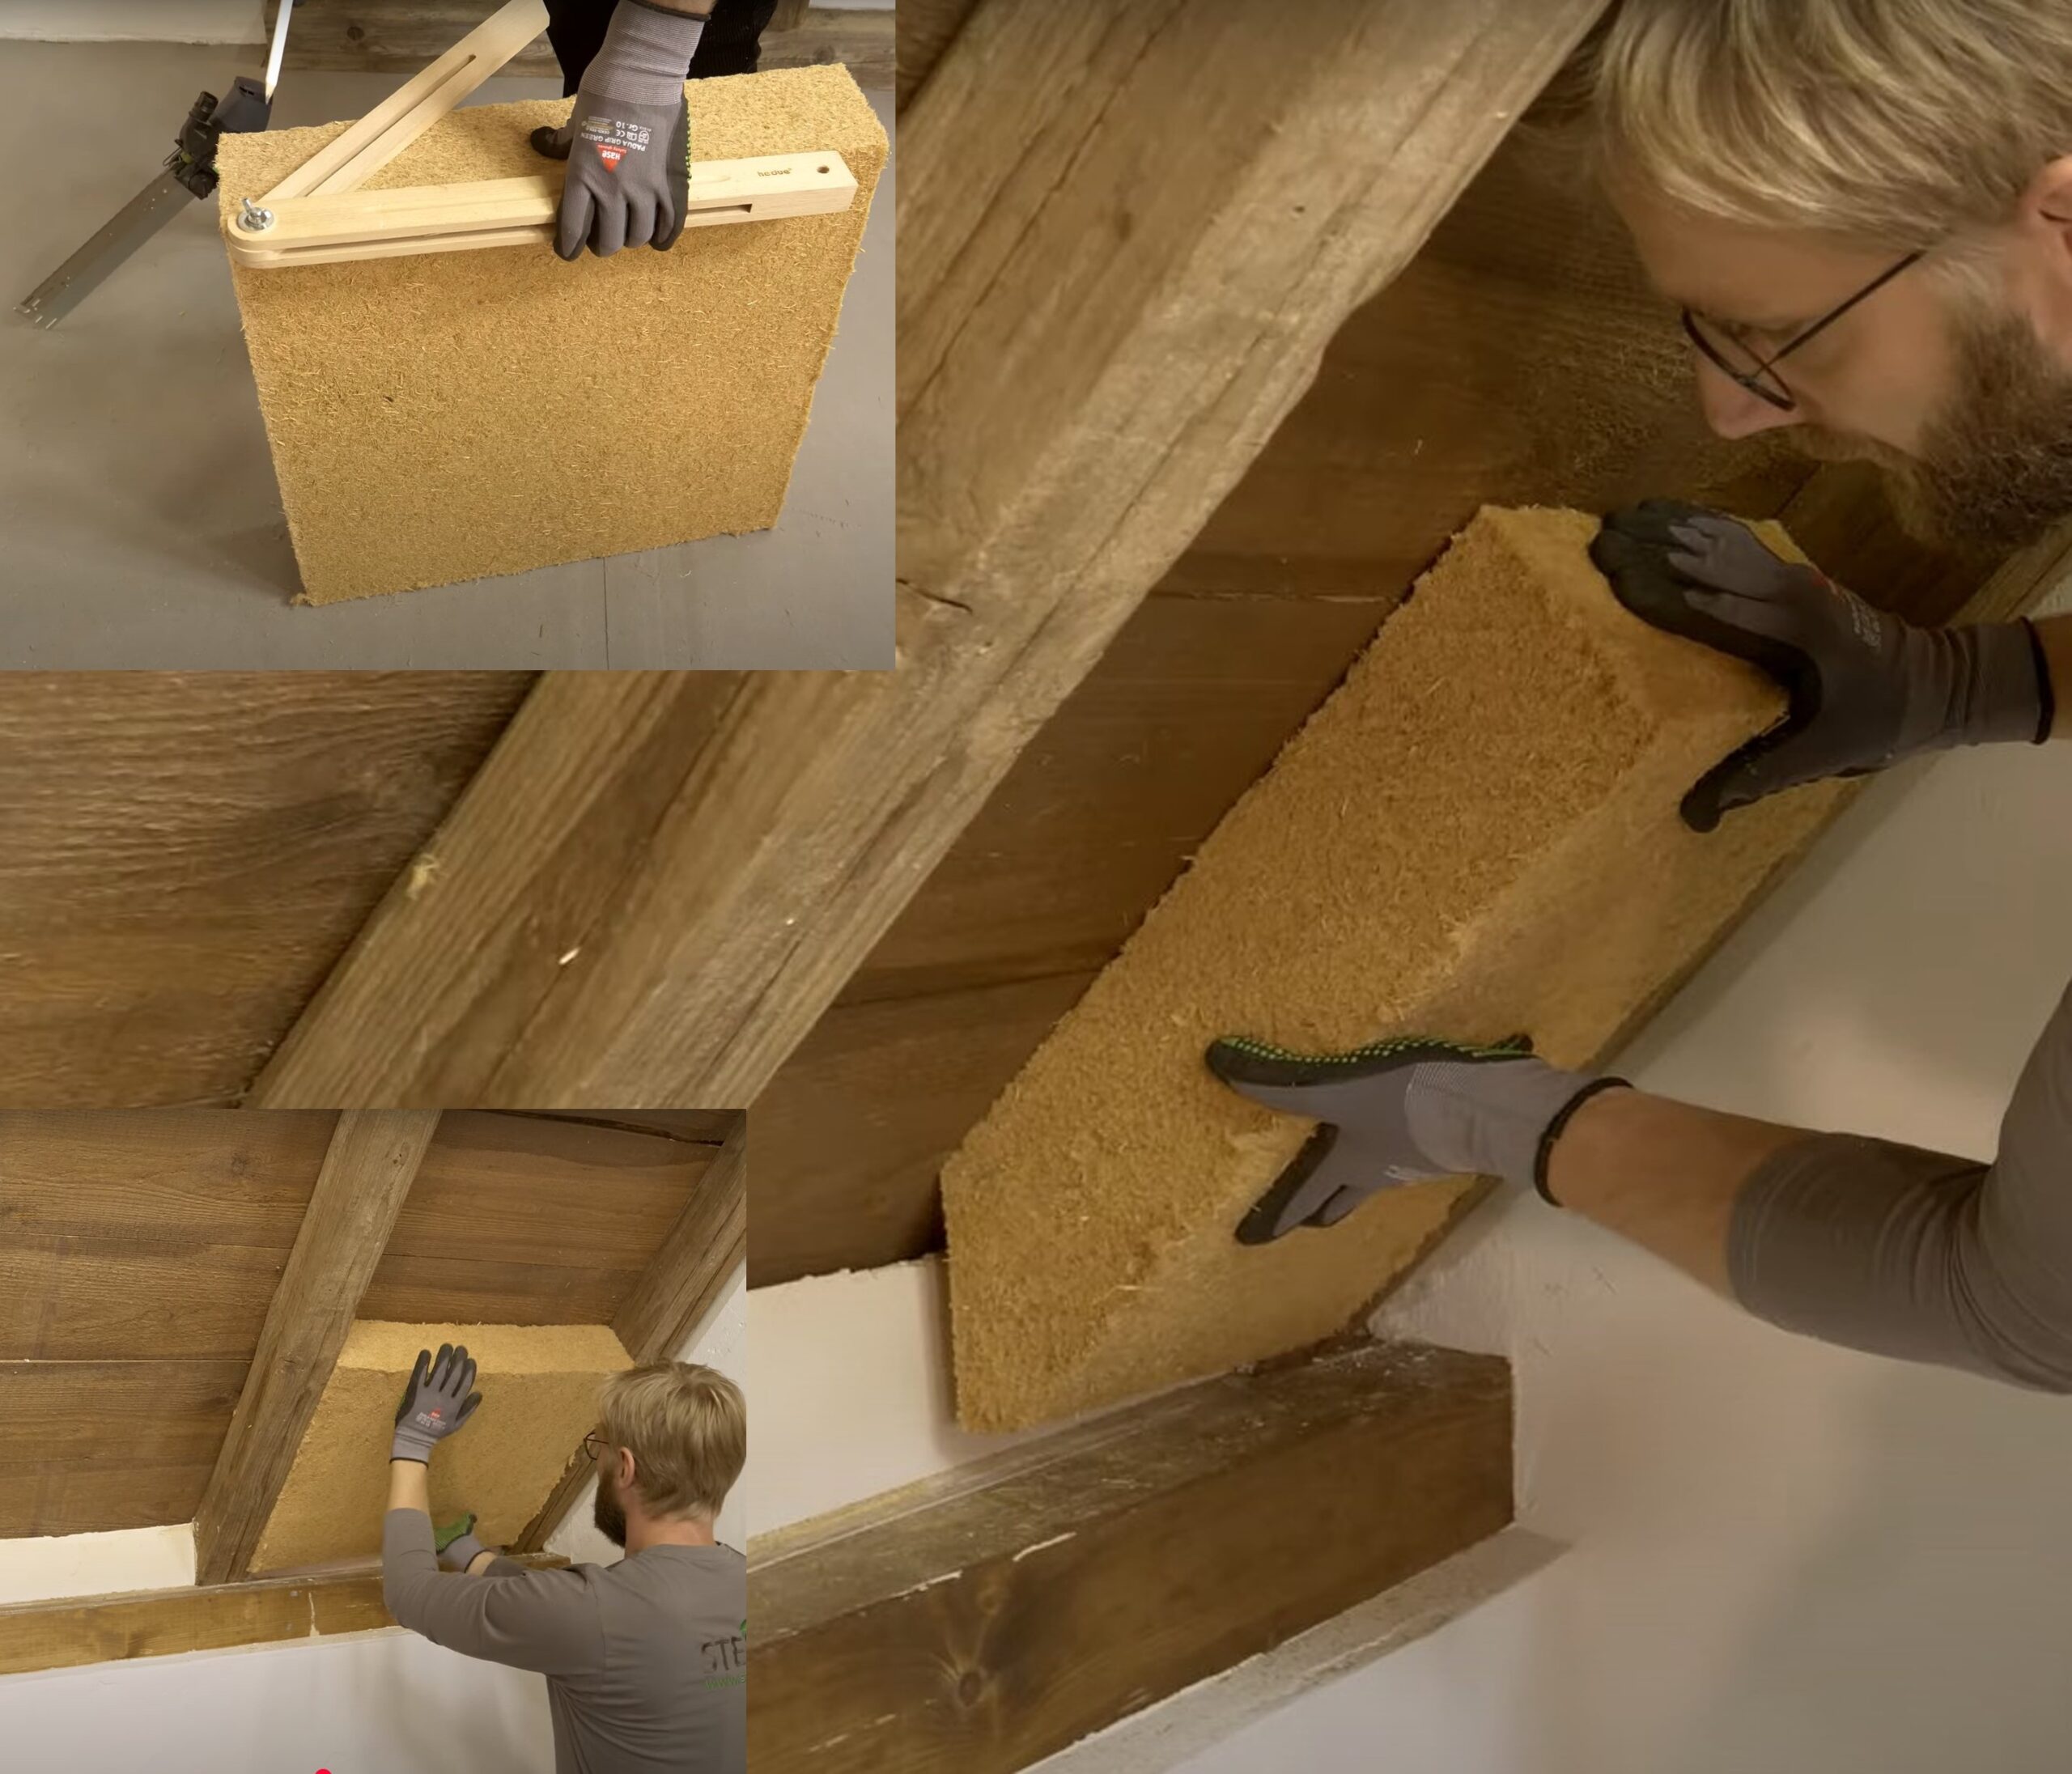
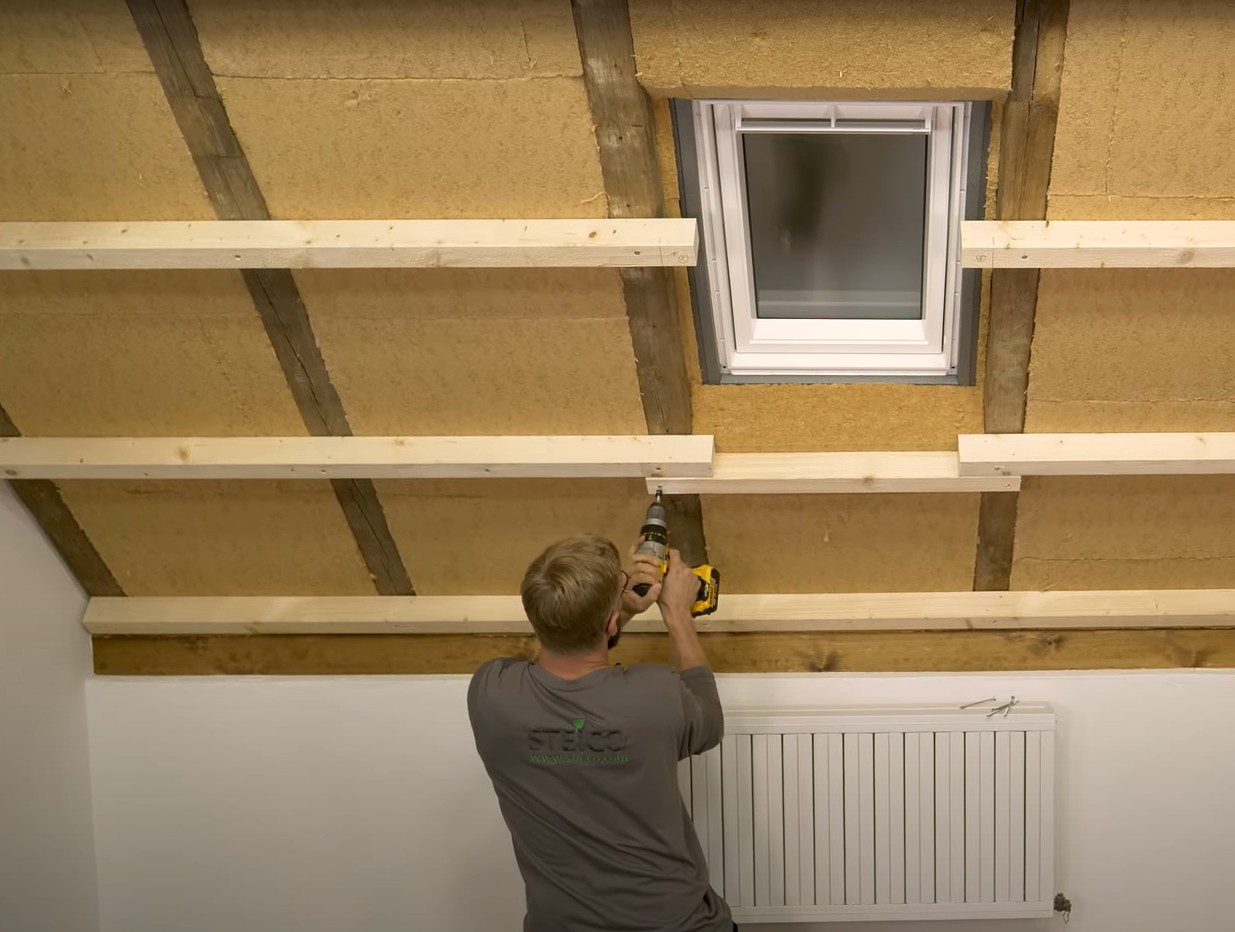
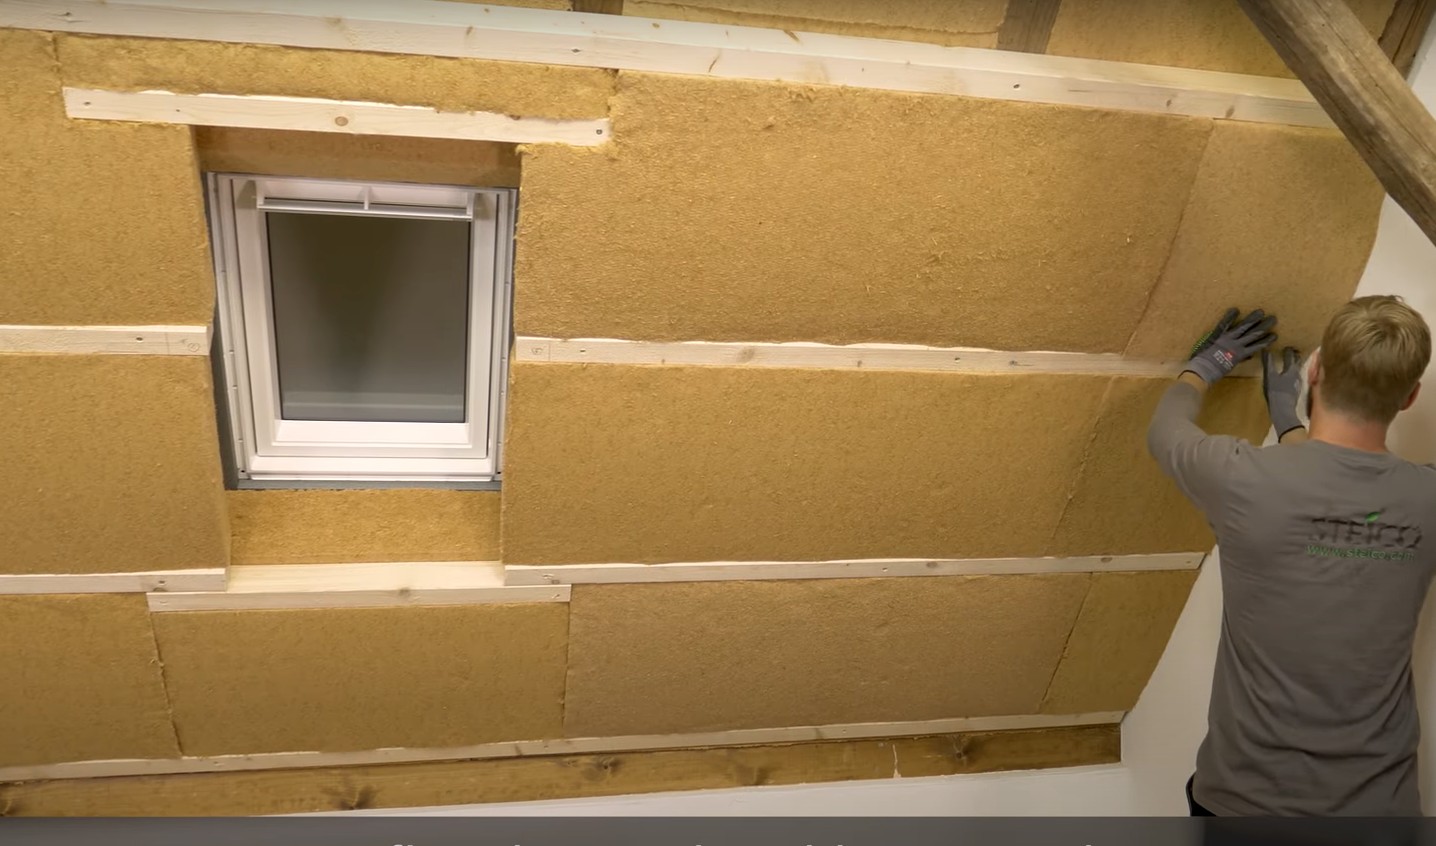
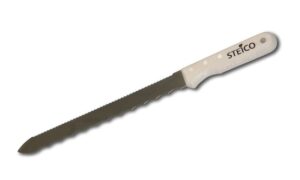
Durable insulation knife with re-sharpenable serrated blade. Ideal for cutting flexible wood fiber boards up to 100 mm. Ergonomic wooden handle for precise handling.
Healthy Living
Sale
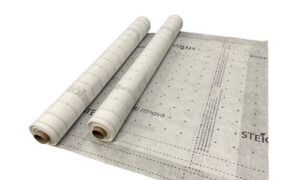
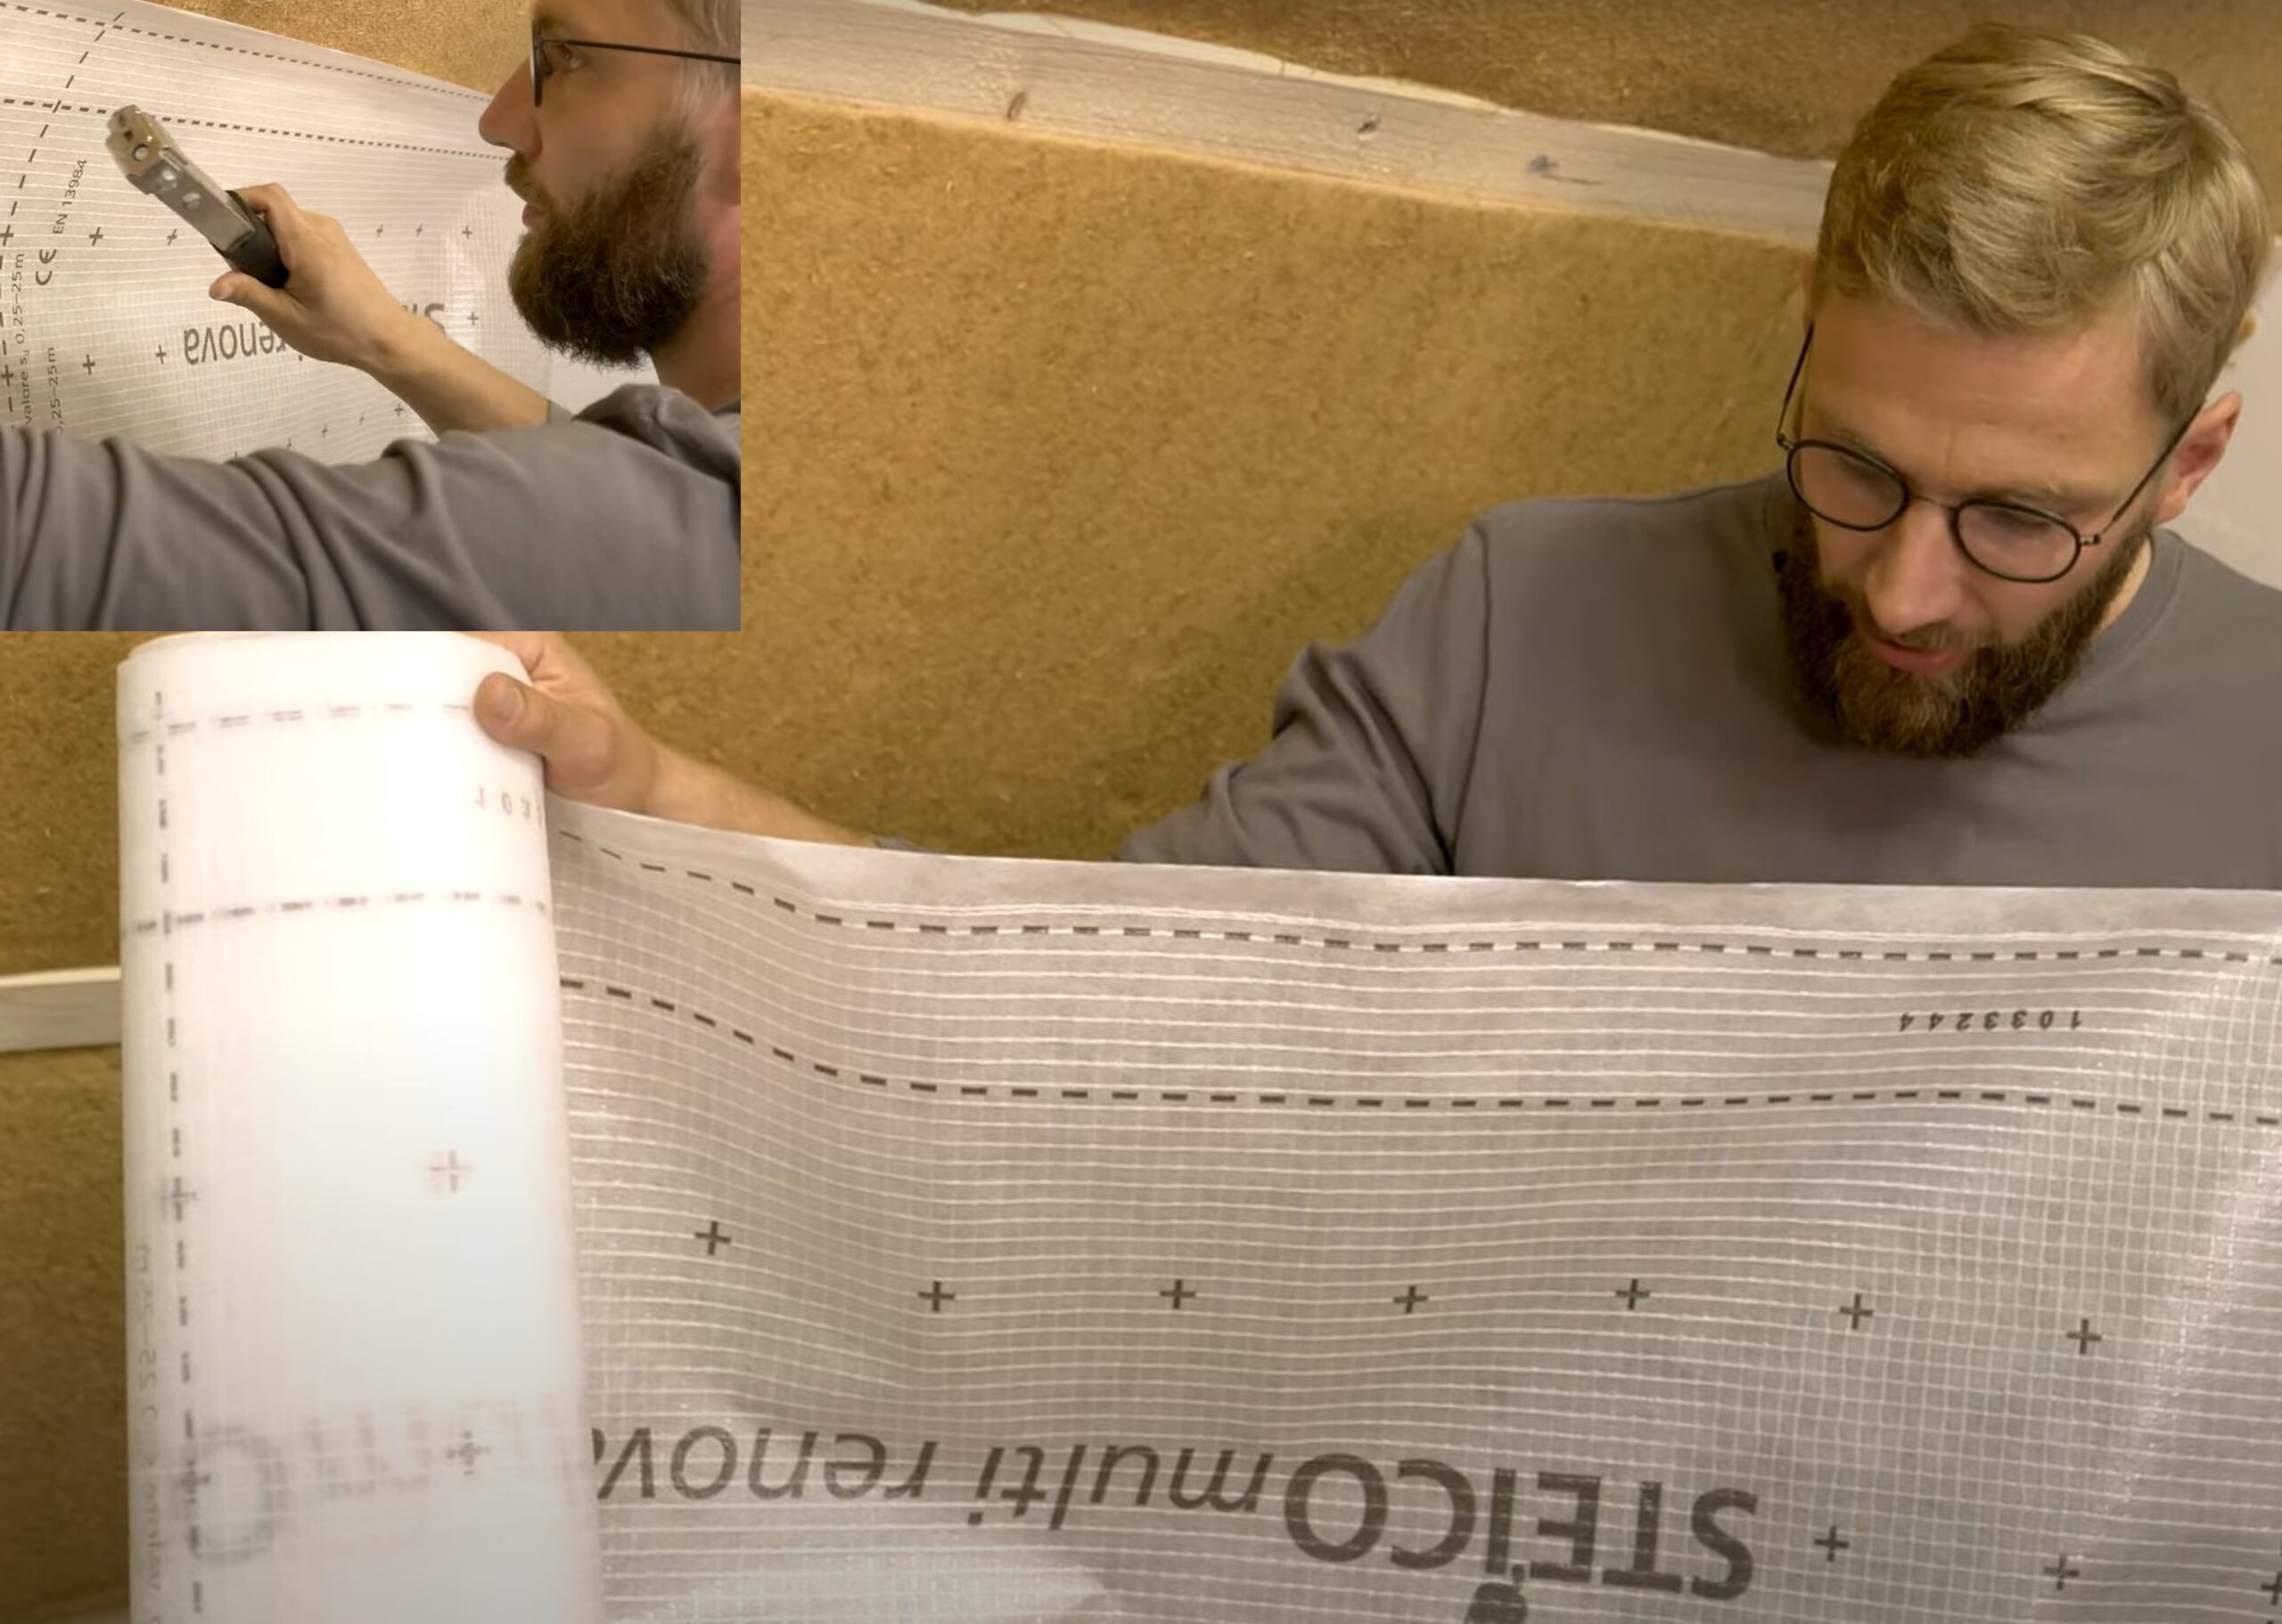
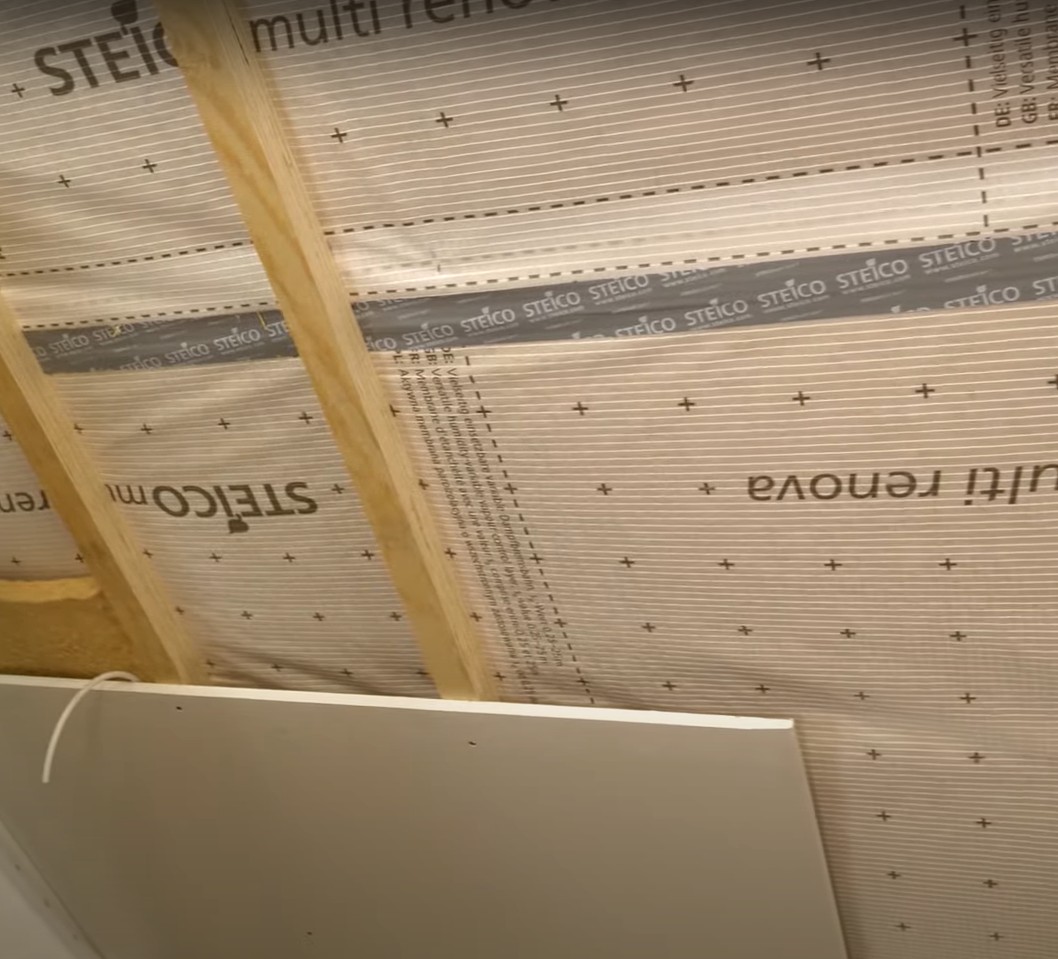
Steico multi renova for Variable Moisture for Indoor
Blow in insulation systems
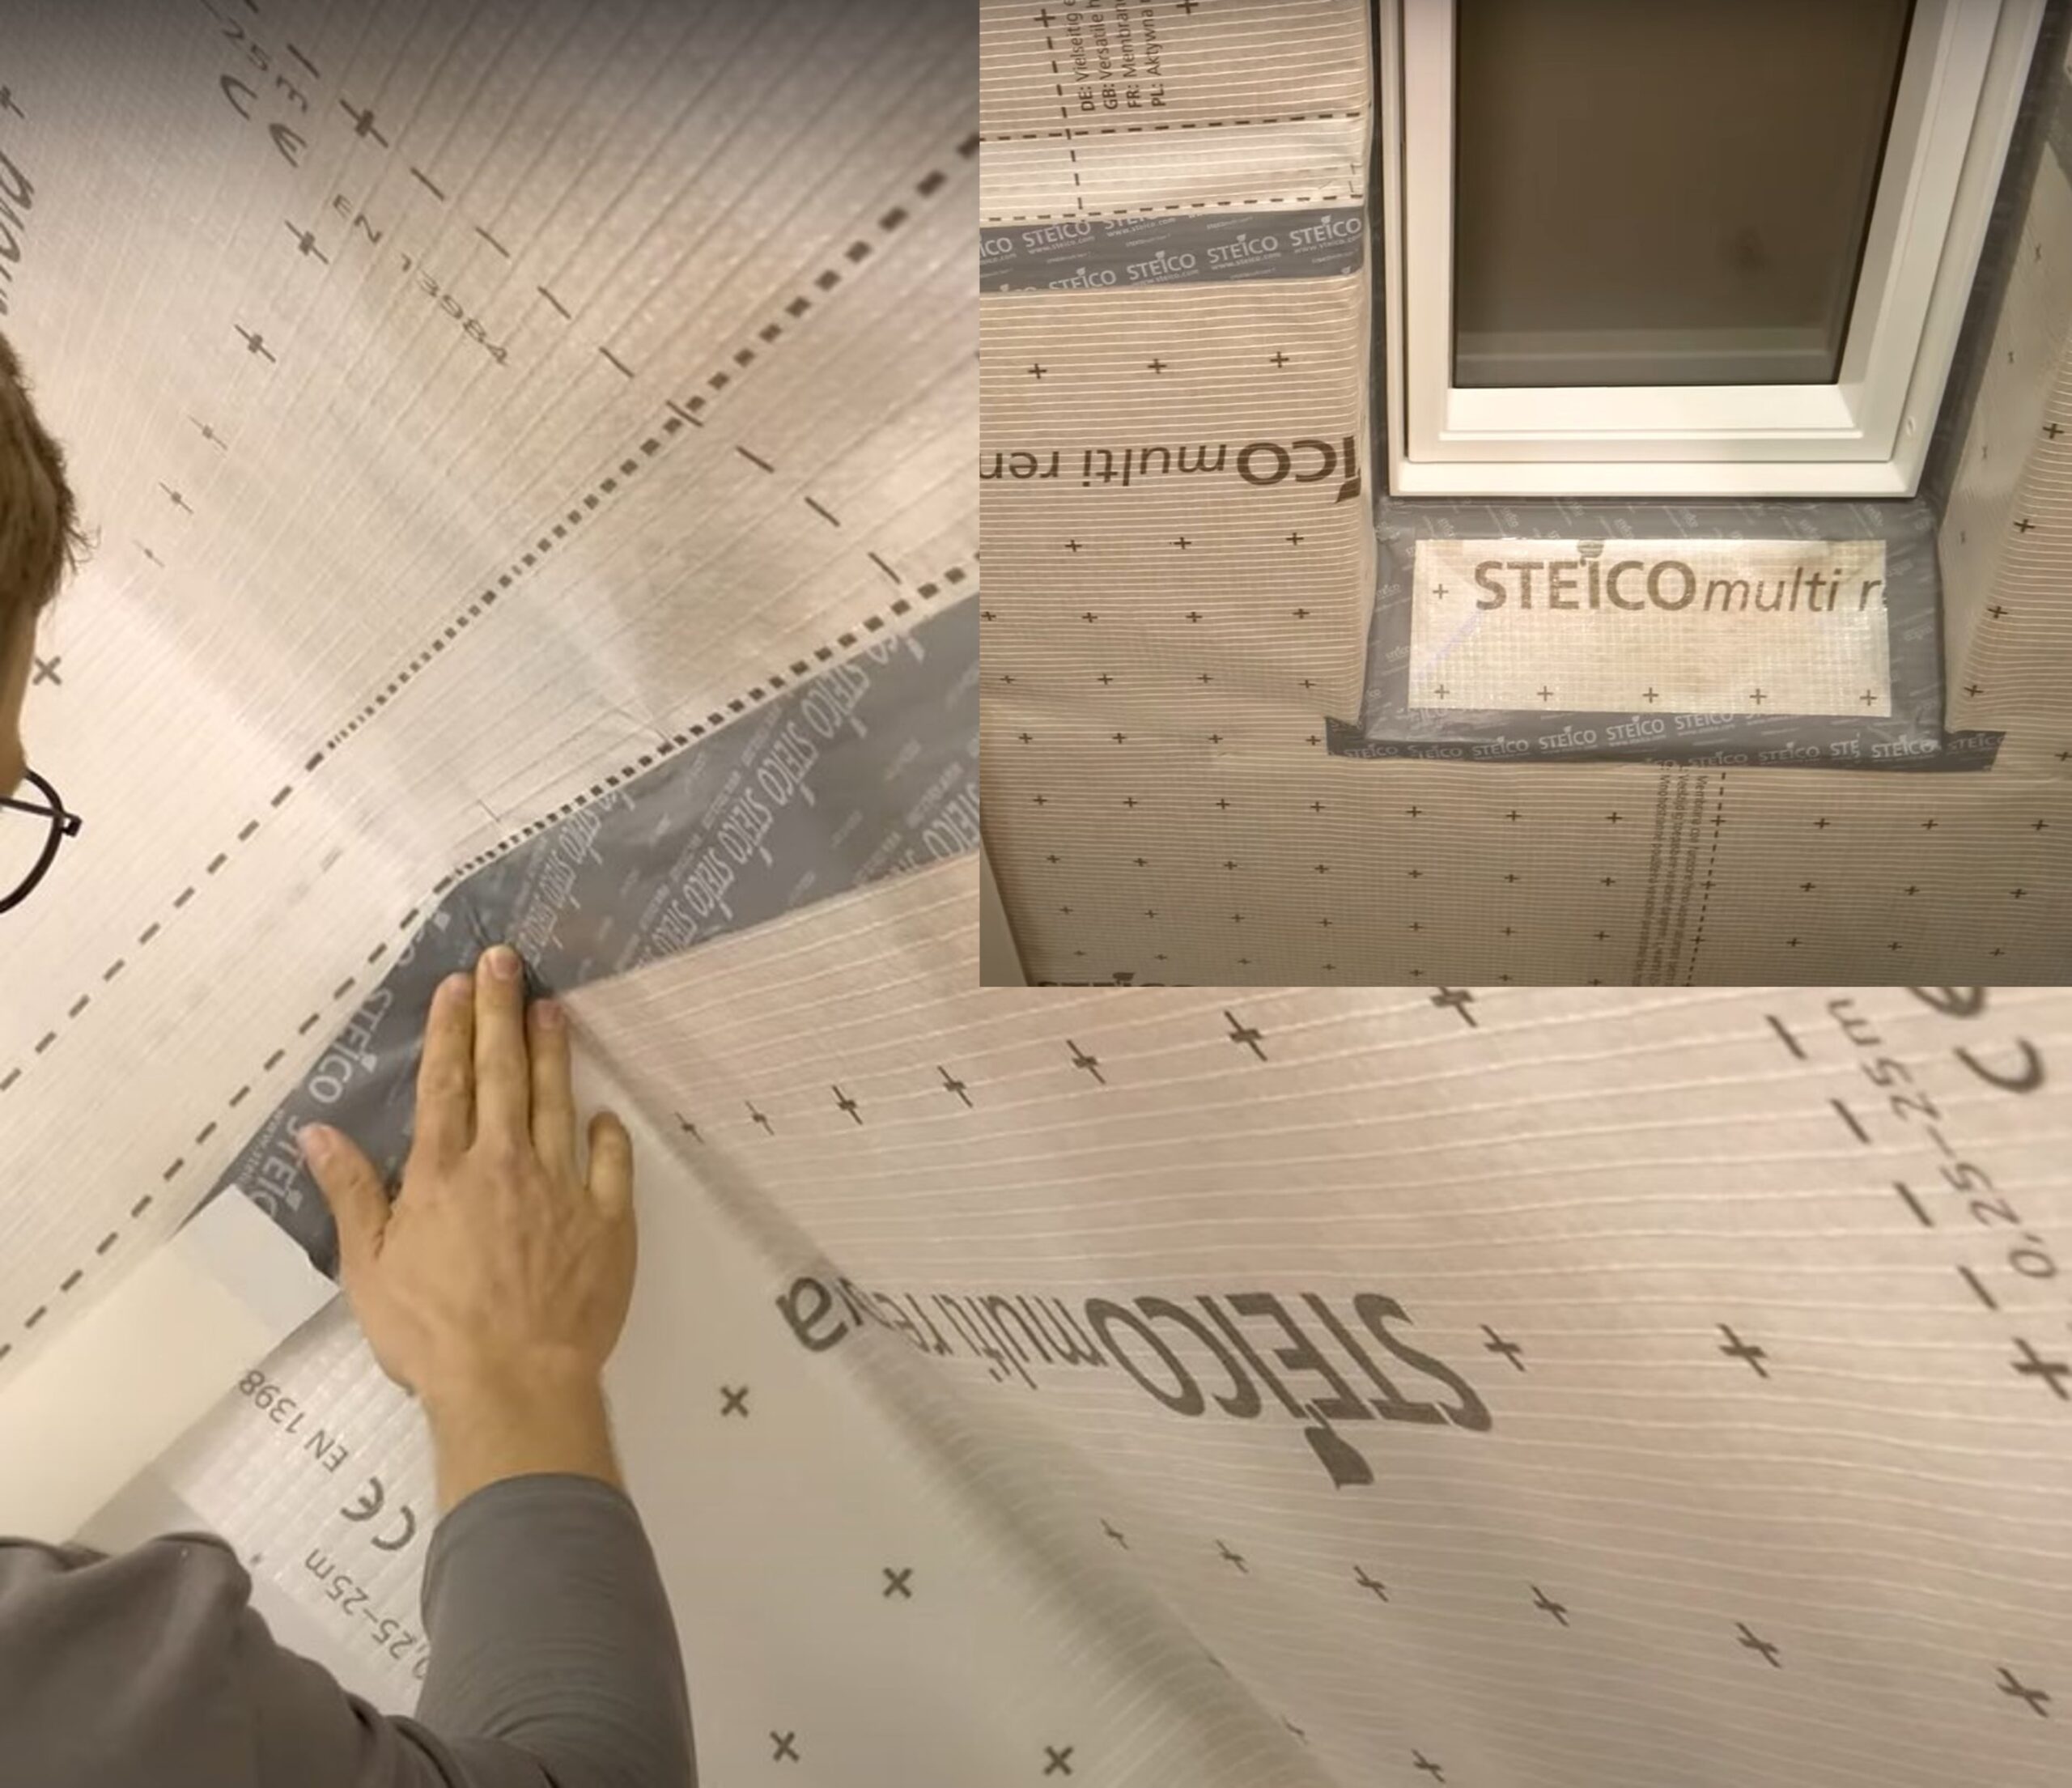
Smart 3-layer vapor barrier with moisture-variable sd-value of 0.4–35 m. Ideal for interior renovation with blow-in insulation like Steicozell.
Original price was: 316.00 €.226.00 €Current price is: 226.00 €.
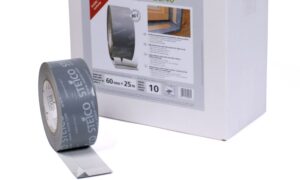
STEICO multi Tape F60 20/40 – Exterior Ultra Adhesive Tape
Adhesive Tapes Multipurpose
High-performance grey sealing tape with split liner (20/40 mm). For exterior use in cold, damp conditions. 25 m roll, 60 mm width.
23.70 €